Look, I see it happen every single year. You spend months preparing for bank exams and buy all the books. Then you mess up the IBPS Clerk 2026 registration because your left thumb impression was scanned in blue ink instead of black. Or your photo file was 60KB when the system only accepts up to 50KB. It's incredibly frustrating. The Institute of Banking Personnel Selection website is basically stuck in 2010. Dealing with it gives anyone a headache.
So I decided to walk you through this entire mess step by step. We're going to cover everything from the basic eligibility to exactly how to resize that stubborn photo of yours. Let's get your application sorted without the last-minute panic.
What you need before you start
You can't just sit down at your laptop and wing this. Honestly, the session will time out, and you'll lose all your progress. You need to gather a few things before opening the website. First, get your Aadhaar card or PAN card ready. You need the exact spelling of your name as it appears on your official IDs. But if your 10th marksheet has a different spelling than your Aadhaar card, use the spelling from your 10th marksheet.
Then you need your graduation marksheets.
You have to enter your exact percentage. Don't round up. If you got 59.99%, you write 59.99. The system doesn't treat that as 60% (annoying, I know). In my experience, people get rejected at the interview stage because of this exact mistake.
Keep a physical folder with your 10th, 12th, and graduation marksheets on your desk while applying. It saves you from frantically searching DigiLocker while a 15-minute timer ticks down on your screen.
And you also need a working mobile number and an email address that you actually check. All your OTPs and your password will go there. Don't use your college email address if you're graduating soon. Just use a personal Gmail account.
Getting your documents perfectly sized
Here's the deal. The IBPS portal is extremely strict about file sizes and formats. I've seen students spend three hours just trying to upload a signature. You need four specific files ready on your computer.
- Your photograph. It must be a recent passport style colour picture against a light background. The file size has to be between 20KB and 50KB.
- Your signature. You have to sign on white paper with a black ink pen. Not blue. Black. The size must be between 10KB and 20KB. And never sign in capital letters.
- Your left thumb impression. This goes on white paper with black or blue ink. The size should be between 20KB and 50KB. If you do not have a left thumb, you can use your right thumb, but you have to specify that later.
- The handwritten declaration. Write this on white paper with a black ink pen. The file size must be between 50KB and 100KB.
Use a free online tool to resize your images if they're too big. You can easily find image compressors on Google. Just search for "reduce image size to 50kb" and you'll find plenty of options. If you want more tech tips on dealing with government portals, check out our tech guides section.
Writing the handwritten declaration
This part confuses a lot of people. You have to write a specific paragraph in your own handwriting. You can't type it out and print it. And you can't ask your brother to write it for you. It has to be your handwriting.
The text you need to write is exactly this: "I, (your name as on your ID), hereby declare that all the information submitted by me in the application form is correct, true and valid. I will present the supporting documents as and when required."
Write it clearly.
Don't use all capital letters. Just normal sentence case. I'm not sure exactly why they're so picky, but a blurry image will get your application thrown out immediately. So scan it using a proper scanner or a good scanner app on your phone, and make sure it's readable.
The basic registration process
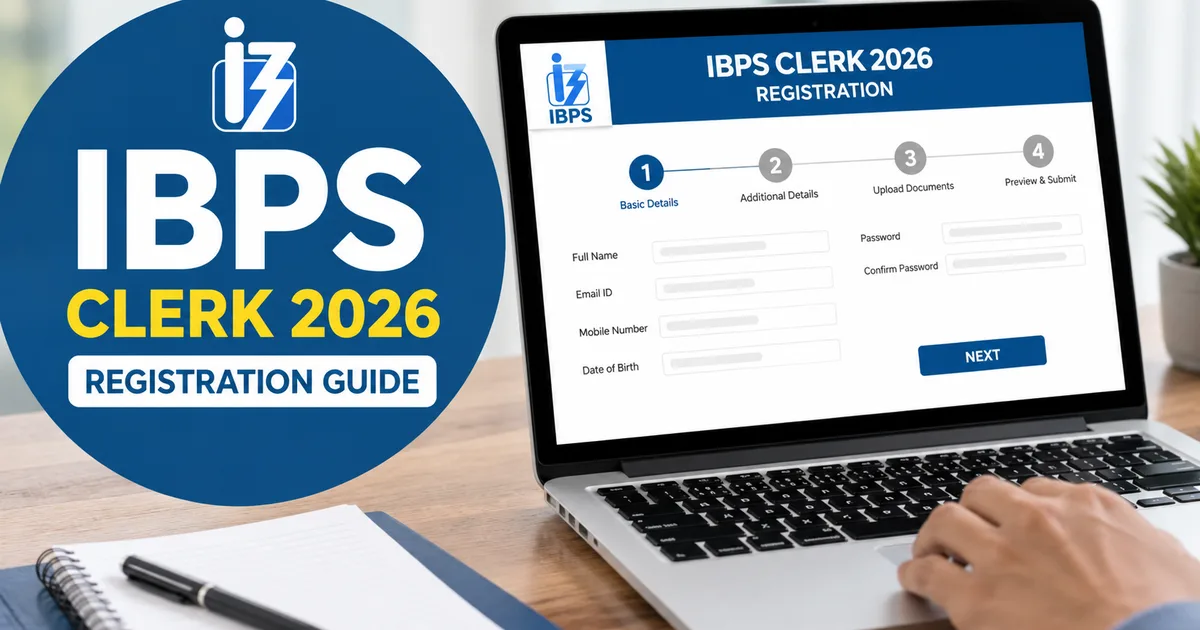
Go to the official website at ibps.in and click on the link that says "Click here to apply online for CRP Clerks". Then click on the yellow button that says "Click here for New Registration".
You'll see a form asking for your basic details. Type your first and last names exactly as they appear on your 10th certificate. Include your middle name if you have one. Enter your mobile number twice to confirm it. Do the same for your email address. Then type the security code. Hit save.
A popup will ask if you're sure. Click OK. The screen will load and give you a provisional registration number and a password. Write these down immediately. They'll also send an SMS and an email. But sometimes the network is slow or the SMS gets blocked by spam filters. Just write it down on a piece of paper.
Uploading your photo and signature
The next screen asks for your photo and signature. Click the choose file button and select the files you prepared earlier.
If you followed my advice and got the sizes right, they'll upload instantly. You'll see a small preview of your photo and signature. Under each image, there's a checkbox that says "I confirm that this is my valid photo" or something similar. Check those boxes and click next.
But if the system throws an error saying the file size is invalid, go back and check your files. Right-click the file and look at the actual size in the properties. Fix it and try again. And if you're worried about sketchy recruitment websites, you can read our breakdown of recent job scams to learn how to spot them.
Filling in your details and preferences
This is the longest part of the form. Take a deep breath.
First, you pick your category. General, EWS, OBC, SC, or ST. If you select anything other than General, you must have the valid certificate ready. The date on the certificate matters. Make sure it's current according to government rules.
Then you answer a bunch of yes or no questions. Are you a person with benchmark disability? Are you an ex-serviceman? Have you appeared for the CRP Clerks exam before? Answer honestly.
Next, you select the state you want to apply for. This is a big decision. You'll have to take a local language proficiency test if you don't have a 10th or 12th standard marksheet proving you studied the local language of that state. Don't apply for Gujarat if you don't know Gujarati just because you think the cutoff will be lower. The numbers here are a bit fuzzy, but you get the idea.
You also need to fill in your educational qualifications. Add your degree and the date of passing. Oh, and your exact percentage. Finally, you select your bank preferences. You'll see a list of participating banks. These include Punjab National Bank and Bank of Baroda. Union Bank of India is another option. Rank them according to where you want to work.
Previewing and completing the application
The system generates a full preview of your application. Read every single line. I think reading your name backwards helps catch typos. Check your date of birth twice. Make sure your category is correct.
If everything is fine, check the declaration boxes at the bottom. Usually, you have to check the box saying "I agree" and the box confirming your name matches your ID. Click on Complete Registration. A warning will pop up telling you that no changes can be made after this point. Click OK.
Uploading the final documents and paying
Now you upload your left thumb impression and the handwritten declaration. Again, if the sizes are right, this takes two seconds. Enter the security code and save.
The final step is payment. The fee is ₹850 for General candidates. EWS and OBC candidates pay the same. It is ₹175 for SC, ST, PwBD, and EXSM candidates. The portal will redirect you to a payment gateway like BillDesk or Paytm.
You can pay using UPI, debit cards, credit cards, or net banking. I strongly recommend using a debit card or net banking. UPI sometimes gets stuck if the server is busy. Your money gets deducted but the portal shows payment failed. If that happens, don't panic. The money usually refunds in a few days. But you might have to pay again to secure your application.
Once the payment is successful, the portal generates an e-receipt. Download it. Then go back to the main page and log in with your registration number and password. Print your entire application form. Save it as a PDF on your phone and your laptop. You'll absolutely need this document when you clear the mains exam and go for document verification.
That's the entire process. It takes about thirty minutes if you have everything ready. For more updates on exams and technology, check our latest news section. Just get it done early. Don't wait for the last date because the servers always crash. It's a mess.